Add Tags to Product Listings
Assigning tags to products enhances organization and simplifies item searches.
Examples of useful ways to use tags:
- Product location
- Expiration date
- Size or color variation
- Seasonal items
- Vendor
- Fulfillment channel
Add a Tag
- Go to Listings > Manage Listings
- Click the product title to go to the Product Edit page
- In the General section, enter a new tag or select from existing tags:

- Click Save
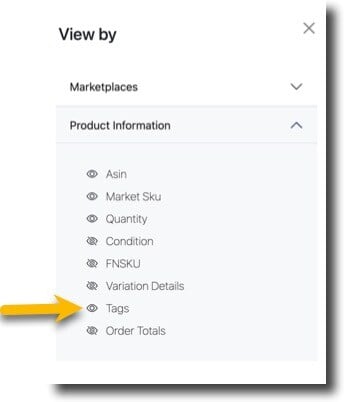
Display tags on the Manage Listings page

- Go to Listings > Manage Listings
- Click Customize View > select Product Information
- Select Tags > click Save view:

View and add tags in bulk
- Go to Reports > Report Builder
- Click Export
- Under the Product heading, select Tags
- Click Export
- Enter tags in the spreadsheet's Tag column. When adding more than one tag to a product, use a ";" semi-colon to separate.
